

Set up the balance of my workspace.
Before you start
- You need the Owner or Admin role to top up, to change automatic top-up, and to change the spending limit. Each member can see the balance and the usage. See roles.
- Top-ups also work during the trial.
What the Billing page shows
To open the page, choose Settings in the rail, then Billing. These cards show the usage and the money:Top up the balance
- In the rail, choose Settings, then Billing.
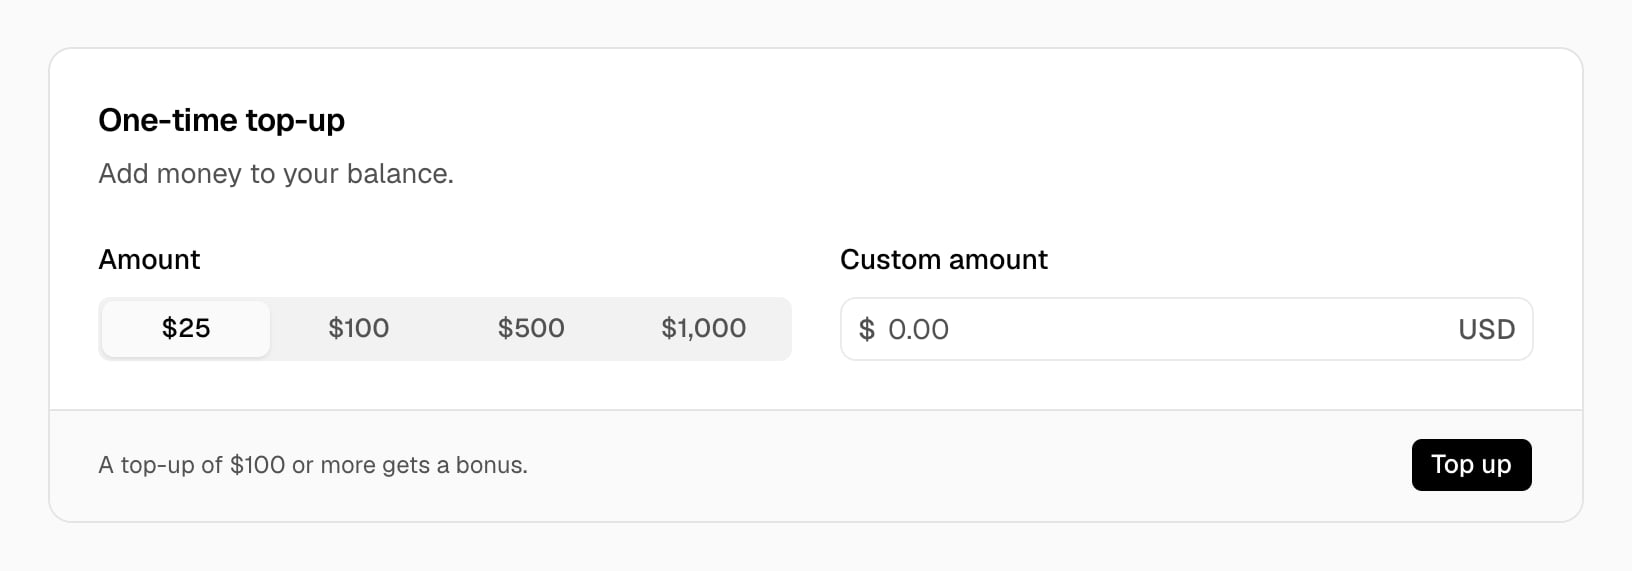
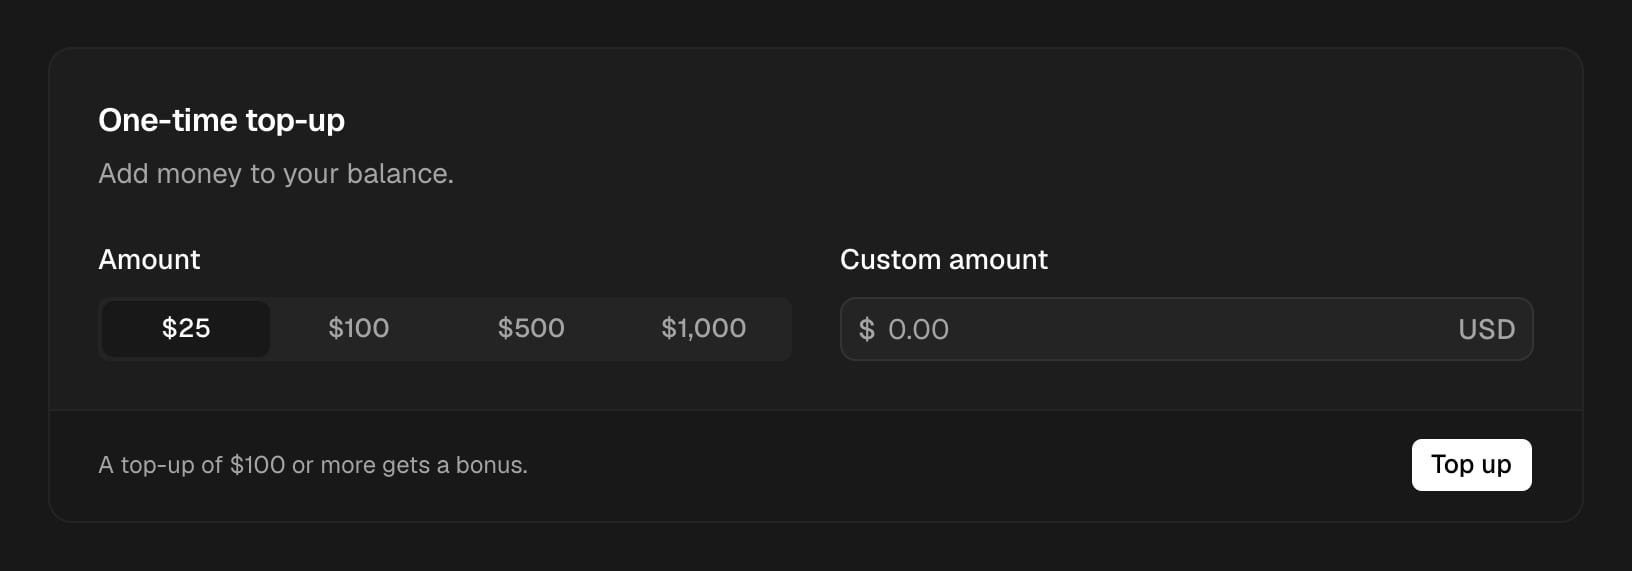
- In One-time top-up, choose an amount, or type a custom amount from $5 to $100,000. The card shows the bonus.
- Choose Top up.
- If the workspace has a saved card, a dialog shows the amount and the card, such as Charge $100.00 to Visa •••• 4242? Choose Charge. The default card pays. If the workspace has no default card, the newest card pays.
- If the workspace has no saved card, the Stripe page opens. Enter your card and confirm. Stripe saves the card for the next top-ups and sends you back to Billing.
Turn on automatic top-up
- In the rail, choose Settings, then Billing.
- In Automatic top-up, type the limit in When the funds go below, and the amount in Top up by. The amount must be $5 or more.
- Choose Save.
Set a spending limit
- In the rail, choose Settings, then Billing.
- In Spending limit, type the limit for each month.
- Choose Save.
402 billing_required until the next month or until you raise the limit. To remove the limit, choose Remove.
Cap the use of each member
Member caps shows the running sandboxes and the unit-hours of this month for each member.- In Member caps, choose the row of the member.
- Type the most sandboxes at the same time, and the most unit-hours each month. Leave a field empty for no cap.
- Choose Save.
429 start_limit. The sandboxes of an API key count for the person who created the key. To remove the caps of more than one member, select their rows, choose Actions, then Remove caps.
See the cost of each sandbox
Usage this month shows the cost of each sandbox since the first day of the month (UTC). Cost by label shows the cost of each label. A sandbox with two labels counts in both rows. To download the usage of each hour of the month, choose Export CSV in Usage this month. The file has the columnshour_start, unit_seconds, and cost_usd.
Read the usage with the API
GET /v1/usage returns the usage of each minute, hour, or day in a window, with the credit and the balance. It needs the billing:read scope. Amounts are in micro-dollars: 1,000,000 is $1.
label=key:value. Send it more than one time for more labels. A sandbox must have each label. To get the cost of each value of a label, add groupByLabel=<key>. The answer then has groups, with the highest cost first. For example, label=env:prod&groupByLabel=customer gives the cost of each customer in production. A sandbox without the label is in the group with value: null.
To get the cost of one sandbox for any window, call GET /v1/sandboxes/{id}/usage with from and to. The default window is the current month. To get the cost of each sandbox this month in a list, add include=cost to GET /v1/sandboxes. These two endpoints need the sandboxes:read scope.
When the credit and the balance are empty
With a paid plan, the workspace keeps running for 48 hours, and its balance can go below zero to the debt allowance. Balances shows the date when the sandboxes stop. After 48 hours, or at the debt allowance, the sandboxes stop with their data kept, and a create or a resume answers402 billing_required.
Top up the balance to start them again. See grace and debt.
In the trial, or without a plan, the sandboxes stop when the credit and the balance are empty.